Before you start
Make sure that:- NativeCLI has been installed
- NativeCLI is in your path and available for use:
Version number may vary depending on your installed version
Starting a new NativePHP Project
At this time, NativePHP only supports Laravel. For this reason, so does NativeCLI. NativeCLI utilises Laravel’s Installer library. This means that any arguments available within that is also available within NativeCLI.This tutorial assumes that you will be creating your project in a
~/Code directory in your user home.-
Execute the following command in the terminal:

-
You’ll be prompted to select some options from the Laravel installer. Choose your favorites!
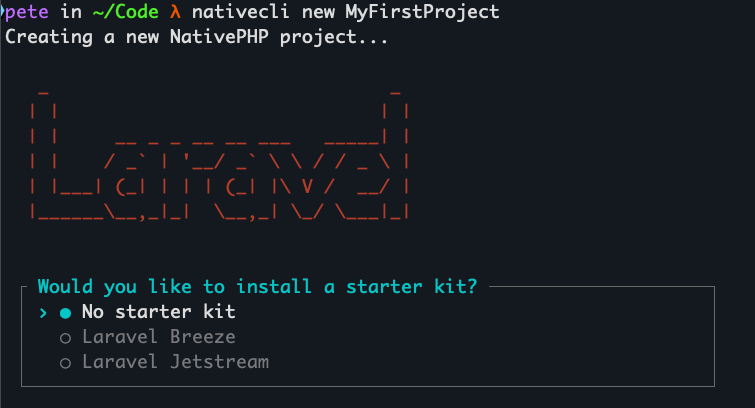
-
NativeCLI will install NativePHP and then ask whether you want to start the app with
native:run. -
Prefer NativePHP Jump instead? Create the project with
--jumpto runnative:jumpand skip install/run:
Next Steps
Configure Your Project
Learn about NativeCLI configuration options
Explore Commands
See all available NativeCLI commands